Wednesday, June 15, 2011

Baby Onesies

Last weekend, I went to a baby shower. Of course, I had to bring handmade gifts. I love making baby gifts. After contemplating several options, I settled on making some custom Onesies. This gave me a chance to play with my new heat transfer vinyl for my Silhouette machine.


These Onesies just make me smile. I'm not sure if you can tell in the pics, but the middle three (the bomb, the bio-hazard symbol, and the diaper gauge) are placed on the backside, right on the baby's bum. Tee-hee! The Mr. T and the "awesome" Onesies are printed on the front.


The baby's gender is going to be a surprise, but I think these will work for a boy or a girl, don't you? Girls don't always need pink ruffles, after all. Sometimes they need just a little sass.


This project was very simple and fast, once I finally narrowed down my ideas for designs. The bomb illustration is just a dingbat I had on my computer. The bio-hazard symbol was a .99 download from Silhouette. The diaper gauge was inspired by something I saw on Etsy, and I recreated it in the Silhouette studio software. For the Mr. T image, I used a stencil image found here. I imported it into the Silhouette library and then used the trace function to cut it out. 

After the Silhouette cut everything, I just had to iron it onto the Onesies. Easy-peasy.


If you don't have a Silhouette, you can still use an exacto blade to carefully cut the chosen design out of heat transfer vinyl (I bought mine from here: Impressions in Vinyl).


Here is a closer look at each Onesie:

To round out the gift, I also made some burp cloths. I followed this tutorial at Sew She Sews. They are ridiculously easy to make. Seriously. I whipped up the third one the morning of the shower.


The result? A completely one-of-a-kind baby gift that got lots of oohs and aahs.

Until  next time,

Megan

I linked up at:

Sunday  Scoop at I Heart Naptime


Thirty Hand Made Days

UndertheTableandDreaming

Friday, June 10, 2011

Hip Hip Hooray! The Kylinator Is a 1st-Grader!

On Wednesday night, Kyle had a request. "Make me a graduation cake!" he demanded. Thursday was his last day of kindergarten, after all. 

"But you don't even like cake," I reminded him.

"But I like frosting!" he said.

"So why don't I make you a bowl of graduation frosting?" I asked.

Kyle just rolled his eyes. "Oh, just make a cake, Mom," he answered with exasperation.

And so, I surprised him with a cake yesterday. Nothing special. Just a box of cake mix and store-bought frosting. Not everything needs to be homemade, right? 

Of course, I couldn't just leave well enough alone. I fired up the silhouette to make a little banner for the cake. Something a little celebratory. 

Last night, we ate cake and sang "Happy Graduation to You!" Well, some of us ate cake. Kyle just ate the frosting. I still think he was happy with his cake. Don't you?

Thursday, June 9, 2011

Upcycled T-Shirt Dress

My mom gave me a bag full of old shirts, and I have a bunch of plans for them! 

For my first project, I made this sweet little ruffle dress for Eliza. 

So simple--it's just basically a basic pillowcase dress. Then I cut the remaining t-shirt into strips, sewed them together, and used my ruffler foot to make a long strip of ruffle. Then I just pinned it on until I got it how I liked it and sewed it down. Isn't it so cute?

Until next time,

Megan


I linked up at:

UndertheTableandDreaming

Join  us Saturdays at tatertotsandjello.com for the weekend wrap 
 up           party!


Miss Me? Miss Me? (Now You'll Have To Kiss Me!)

Whew! I'm so glad I finally got the crossover top tutorial and pattern finished. Don't get me wrong, it was fun to do, but it took a lot longer than I thought it would. And I felt like I shouldn't post anything else until I got it finished. But now that it is done, look out! I have more stuff coming your way soon. Be on the lookout for some Father's Day gifts, a printable or two, some baby gifts, lots of baby girl dresses, and some other surprises. 

See you soon!

Megan

Crossover Back Top Tutorial

(Note: I started working on this project/tutorial about a week BEFORE Maggie at Smashed Peas and Carrots posted her tutorial and pattern. So please don't think I am copying her! Great minds just think alike!)


I am so in love with these shirts! Eliza better love them too, because she now has four of them hanging in her closet. I kind of lost control and couldn't stop making them. The funny thing is, I know my husband will be baffled by these shirts. The whole crossover back thing is much too complicated for him. So I know he will never choose them when he is dressing her. Oh well. 

My pattern is based on a top that my mom made for me when I was a baby. I just placed it on top of my fabric and traced it. It's already a little small for Eliza, so I made everything a bit larger when I cut it out. Over the process of making a few of these, I fine-tuned the pattern. I've narrowed the straps a bit since I took the pictures for the step-by-step. So don't worry if your straps don't look just like the pictures.

Want to make one for your little one? This fits my 17-month-old peanut pretty well. (If you do need to make it larger, I'd suggest not making the straps much wider--just make them longer.) I made it kind of long, so it's like a long top or a short dress, whichever way you want to go with it. You even have enough fabric left over for matching bloomers or shorts.

1. Gather your supplies:

  • at least 5/8 yard each of two coordinating fabrics (you'll have some left over)
  • thread
  • four buttons (if you want to make it reversible--if you don't want/need it to be reversible, you can just use two buttons, or even two snaps if you'd like)
  • pattern (download here). Cut it out and line up the hatch marks, then just tape it together. Trace it onto freezer paper if you'd like. (See below)
  • scissors, pins, sewing machine, etc.(not pictured, but you know what they look like)
2. Place your pattern on the fold of your fabric.
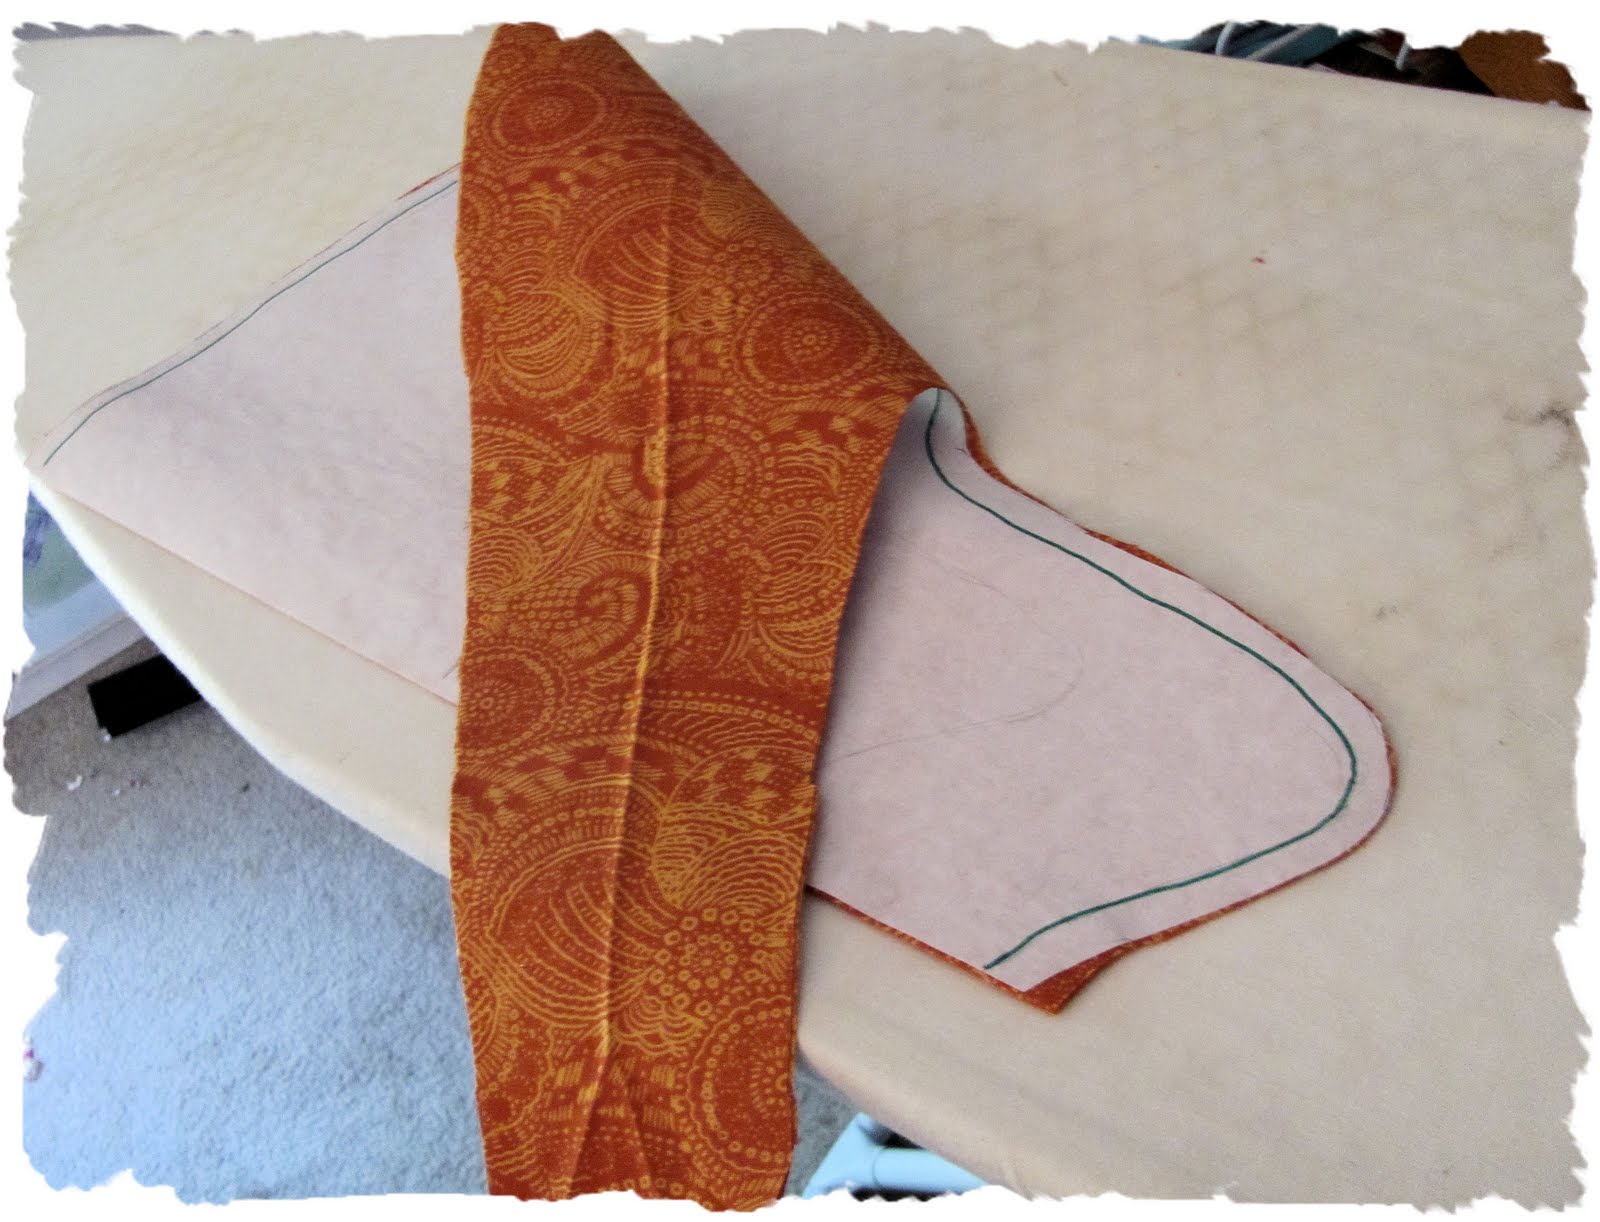
You can pin it, or I like to use freezer paper. (I hate pinning) Just place the freezer paper shiny side down and iron lightly. It will stick to your fabric while you cut it out. Then you can peel it off and reuse it several more times (I think I've used it maybe 6 times or so before it stopped working so well, but then I just trace it onto a fresh piece of freezer paper).

3. Cut fabric out.
4. Repeat with coordinating fabric so you have two matching pieces.


5. Pin all the way around, right sides together.

6. Sew together, leaving an opening about 1.5 inches for turning. I used a 1/4 inch seam allowance. The seam won't actually take any stress, so this should be fine. I used my 1/4" foot for this.


7. Before turning, clip your edges along the curves. This will help everything stay nice and flat when you turn it right side out.
8. Turn everything right side out by pulling it through the opening. Pin the opening shut, tucking in the edges.
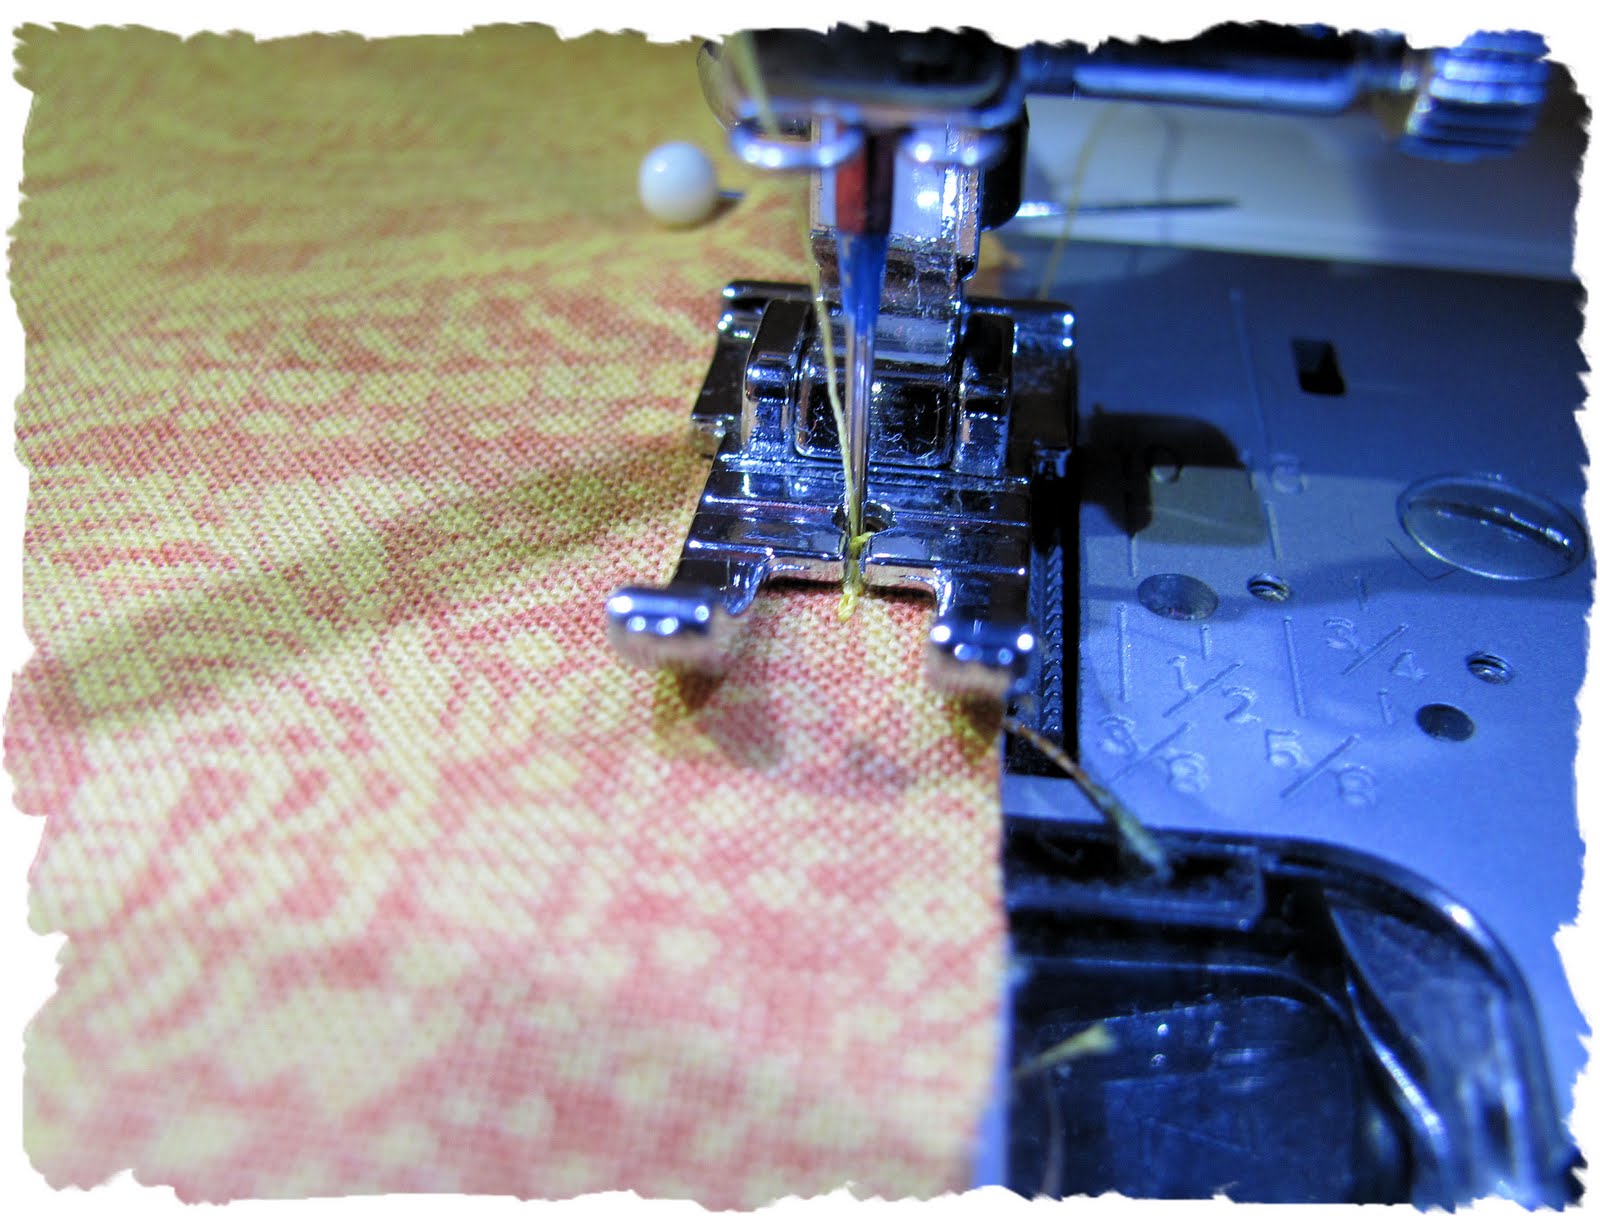
9. Topstitch all the way around, close to the edge. I used a variegated orange/yellow thread in my bobbin and a green thread in my needle--so that the thread matches on each side.
10. Add buttonholes* to the straps.

Hint: use a pin at the top of the buttonhole when you are opening it up. It will keep you from pushing too far and ripping the buttonhole thread.

11. Sew on buttons to the front of the top. To make the top reversible, sew two buttons back-to-back on each side.

And you're done!

*I was super-scared of trying buttonholes. Terrified, actually. But I read through my instruction manual really carefully and made a bunch of practice buttonholes. When I moved on to the actual top for the buttonholes, my hands were actually shaking. And I don't think I took a breath the whole time while I waited for my machine to do its thang. But I was surprised how easy they are. So don't be afraid. If I can do it, so can you! But if you still aren't ready to face your buttonhole fears, just add snaps instead (those are really easy!). It just won't be reversible.

And have I mentioned how cute these are with matching ruffle-butt bloomers? So your little independent munchkin can look adorable as she runs away from you and your camera.


Let me know how this works for you. This is my first attempt at a tutorial and pattern. If you have questions, just ask! 


Until next time,


Megan


I linked up at:


UndertheTableandDreaming


Join  us Saturdays at tatertotsandjello.com for the weekend wrap 
 up           party!